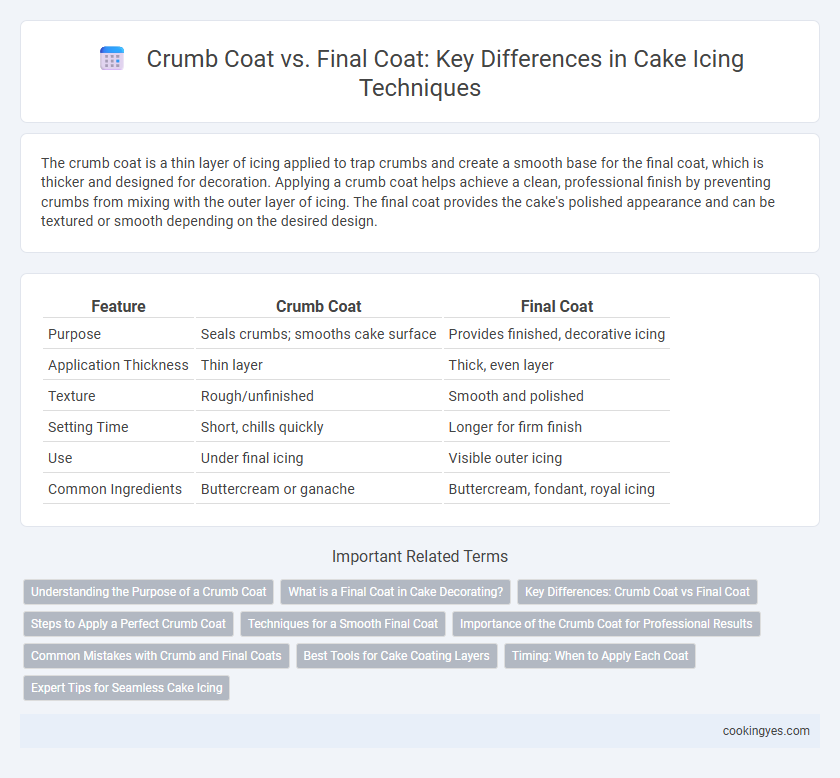
The crumb coat is a thin layer of icing applied to trap crumbs and create a smooth base for the final coat, which is thicker and designed for decoration. Applying a crumb coat helps achieve a clean, professional finish by preventing crumbs from mixing with the outer layer of icing. The final coat provides the cake's polished appearance and can be textured or smooth depending on the desired design.
Table of Comparison
| Feature | Crumb Coat | Final Coat |
|---|---|---|
| Purpose | Seals crumbs; smooths cake surface | Provides finished, decorative icing |
| Application Thickness | Thin layer | Thick, even layer |
| Texture | Rough/unfinished | Smooth and polished |
| Setting Time | Short, chills quickly | Longer for firm finish |
| Use | Under final icing | Visible outer icing |
| Common Ingredients | Buttercream or ganache | Buttercream, fondant, royal icing |
Understanding the Purpose of a Crumb Coat
The crumb coat serves as a thin layer of icing applied to seal in loose crumbs and create a smooth surface for the final coat, ensuring a clean and polished cake appearance. This initial layer prevents crumbs from mixing into the outer icing, which is essential for achieving a flawless and professional finish. Applying a crumb coat helps the final coat adhere better, resulting in an even texture and enhanced decoration possibilities.
What is a Final Coat in Cake Decorating?
A final coat in cake decorating is the smooth, polished layer of icing applied after the crumb coat to create a flawless finish. This layer enhances the cake's appearance, providing a clean canvas for additional decorations or piping. It seals in crumbs, ensuring no imperfections show through the outer design.
Key Differences: Crumb Coat vs Final Coat
The crumb coat is a thin layer of icing applied to seal in cake crumbs and create a smooth base for decoration, typically chilled to set before the final coat. The final coat is a thicker, more polished layer of frosting that provides the cake's finished appearance and texture, designed for smoothness and aesthetic appeal. Key differences include purpose--crumb coat for crumb containment and stability, final coat for presentation--and application thickness and finish quality.
Steps to Apply a Perfect Crumb Coat
A perfect crumb coat requires spreading a thin, even layer of icing over the entire cake to trap loose crumbs and create a smooth base for the final coat. Use an offset spatula to gently press the icing into the cake surface, then chill the cake for at least 20-30 minutes to set the crumb coat firmly. This process ensures the final coat of frosting appears flawless and smooth without crumb inclusions.
Techniques for a Smooth Final Coat
Applying a thin crumb coat seals in loose crumbs and provides a firm base for the final coat, preventing imperfections. Using a bench scraper and offset spatula, gently smooth the final coat while rotating the cake on a turntable to achieve an even finish. Chilling the cake between layers allows the icing to set properly, resulting in a flawless, polished surface.
Importance of the Crumb Coat for Professional Results
The crumb coat forms a thin, even layer of icing that traps loose crumbs, ensuring a smooth and clean surface for the final coat. This essential step prevents crumbs from mixing into the outer layer, preserving the cake's polished appearance and enhancing the overall texture. Professional bakers rely on the crumb coat to achieve flawless, visually appealing cake finishes that hold up during transport and display.
Common Mistakes with Crumb and Final Coats
Common mistakes with crumb coats include applying a layer that is too thick, which prevents proper adhesion of the final coat and causes uneven texture. Skipping chilling time after the crumb coat leads to crumbs mixing into the final coat, resulting in a rough finish. For final coats, failing to smooth the icing adequately or applying it over a warm cake often causes tearing and inconsistent surfaces.
Best Tools for Cake Coating Layers
Using a bench scraper and an offset spatula ensures smooth application of the crumb coat, effectively trapping loose crumbs and creating a stable base for the final coat. For the final coat, a flexible silicone spatula and a cake smoother provide precision and a polished finish on buttercream or fondant. High-quality stainless steel tools enhance control and durability for both layers, resulting in professional-looking cake surfaces.
Timing: When to Apply Each Coat
Apply the crumb coat immediately after the cake layers have cooled completely to seal in crumbs and create a smooth base for decorating. Allow the crumb coat to chill in the refrigerator for at least 15 to 30 minutes until it firms up before applying the final coat. The final coat should be applied once the crumb coat is set, ensuring a flawless and polished finish for the icing.
Expert Tips for Seamless Cake Icing
A crumb coat is a thin layer of icing applied to a cake to trap loose crumbs and create a smooth base for the final coat. Experts recommend chilling the crumb-coated cake for at least 30 minutes to firm up the layer, ensuring a cleaner and more polished final finish. Applying the final coat in thin, even layers with a spatula or bench scraper results in a flawless, professional-looking surface ideal for decorating.
Crumb Coat vs Final Coat for cake icing Infographic

 cookingyes.com